Inspecting Laboratory Glassware for Damage
Laboratory glassware is often subject to repeated use and while many products are designed to withstand this, and as such don't have a specified lifespan, they can nevertheless be subject to stresses and general wear and tear, especially if they have been used under certain conditions.
Even damage that is not immediately noticeable can easily lead to a failure that could have a serious impact on the safety of those working in the lab, the substances they are working with, and the validity of the processes they are carrying out.
It is therefore important to anticipate any damage at an early stage. This article explores some of the indications that might suggest a product has been damaged, how to carry out an inspection of laboratory glassware, and how to dispose of damaged laboratory glassware safely.
Spotting Signs of Stress
Day-to-day activity places stress on laboratory glassware and minor accidents or incorrect initial usage can lead to wider problems. Some of the factors that can lead to damaged glassware include:
- Has the Product Been Knocked Over or Dropped?
Many items, especially those made of borosilicate 3.3 glass, which is manufactured to specified industry standards, may remain intact if dropped or knocked over. However, while some incidents may be harmless, others may introduce points of weakness into a glass product that otherwise looks functional.
It is therefore advisable to take particular care when inspecting glassware that has been knocked over or dropped, as even the smallest of cracks could be a major source of weakness. If you are uncertain about the severity of damage after a product has been knocked over or dropped, it is always safest to dispose of the product. - Has the Product Been Incorrectly Heated?
While many items of laboratory glassware are deliberately designed to be heated, doing so in an incorrect manner will place stress on the glass and might lead to future accidents.
For example, all laboratory glassware should be heated and cooled in a gradual manner to avoid the risk of thermal shock. Heat should also be distributed evenly across the surface of the product to avoid creating hotspots that could cause weakness in the glass. Being aware that an item of glassware has been incorrectly heated is another reason to carry out a proper visual inspection and potentially dispose of the product. - Has the Product Been Incorrectly Autoclaved?
Putting glassware through an autoclave cycle is often essential, especially if it is to be reused. While many items of laboratory glassware are perfectly suitable for autoclaving, the cycle must still be carried out correctly to avoid damaging the product. For example, when sterilizing or autoclaving bottles with screw caps, the cap must be loosely fitted with a maximum of one turn applied. This will avoid the large pressure difference that will occur in a closed vessel and which can result in either explosive failure at the time of autoclaving or damage to the glass that might lead to future failure.
- Has the Product Been Subject to Unsuitable Pressure or Vacuum Conditions?
Standard laboratory bottles and other forms of glassware are not recommended for use under pressure or vacuum conditions. Pressures above 1bar or the presence of a vacuum may lead to stress in the glass. Any glassware that is already showing signs of damage must not be used subject to pressure or a vacuum. If you are working with positive or negative pressure, only products with the appropriate geometries and wall thicknesses should be used, such as DURAN™ Pressure Plus+ laboratory bottles.
Carrying Out an Inspection of Laboratory Glassware
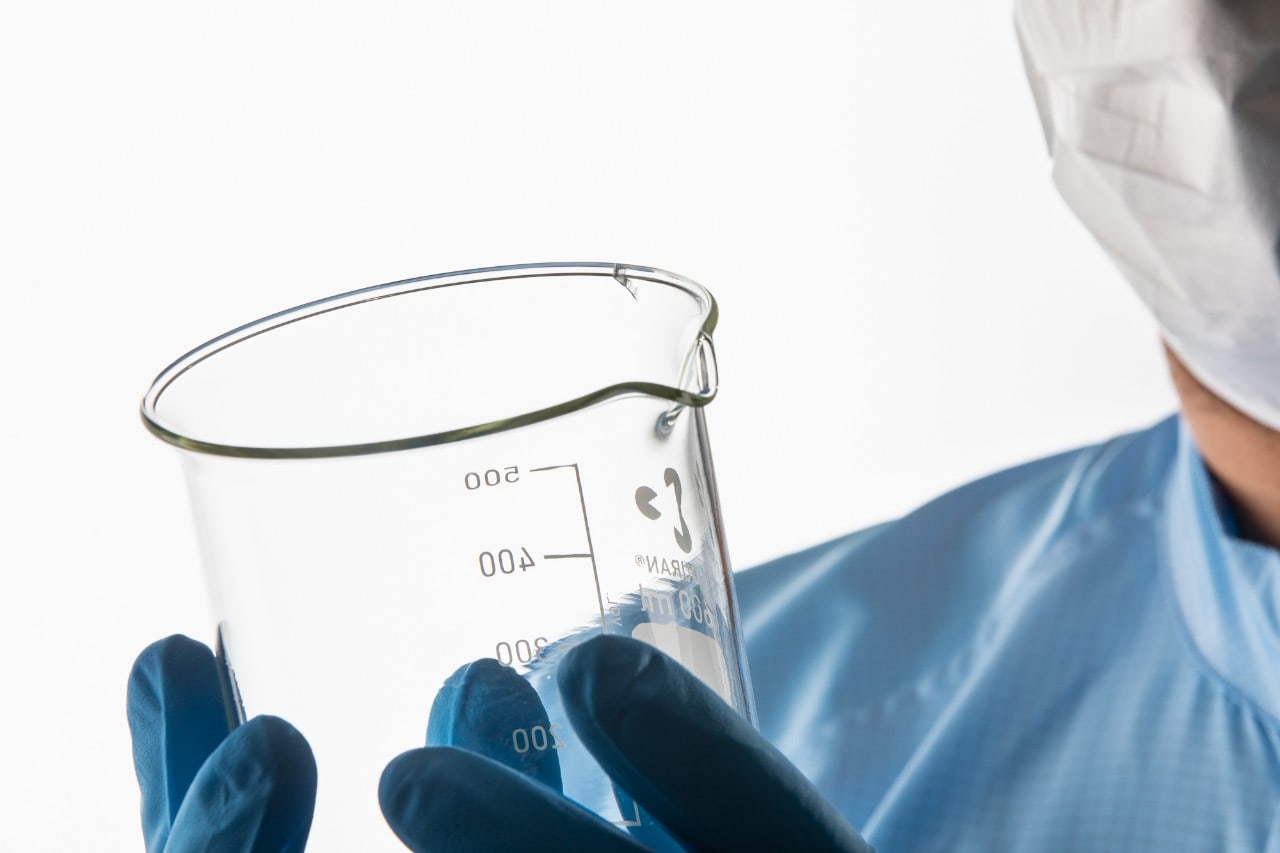
Regular inspections of laboratory glassware are recommended, especially if the product has been subject to stress or potential damage as described above. Before carrying out an inspection, adequate PPE such as gloves, lab coats, and safety glasses should be worn.
Any inspection of laboratory glassware should be carried out with sufficient lighting and a black and white backdrop to provide adequate contrast and to allow maximum visibility of flaws. A minimum illumination intensity of 1,000lux is recommended. This is the equivalent light level to that experienced on an overcast day. Light levels should also be uniform in nature, with glare and flickering to be avoided where possible as this might lead to damage going unnoticed.
"When inspecting glassware, look for any signs of chips, cracks, scratches or bubbles. Any mark in the uniform surface of glassware is also a potential breaking point, especially when the piece is heated or placed through an autoclave cycle."
Disposing of Damaged Glassware Safely
If any damage or suspected damage has occurred, glassware should be safely disposed of as soon as possible. Damaged glassware should be placed in a properly labeled, puncture-resistant box such that all personnel will exercise due caution when handling it. If the glassware has broken or been shattered, avoid handling the pieces without the proper PPE.
Finally, any broken glass should be free of chemical and biological hazards before disposal. This might mean that broken items of laboratory glassware require cleaning - a process that must also be carried out with adequate PPE and care.


